
Polishing stainless steel sheet is easiest to control when the required finish is defined before abrasives touch the surface. Grain direction, reflectivity, scratch visibility, roughness where relevant, and an accepted reference sample give production a measurable target.
The work sequence then becomes straightforward: choose a suitable starting surface, remove only the defects that must disappear, refine the scratch pattern in controlled steps, protect the stainless from heat and foreign iron, and inspect the complete panel under consistent conditions.
1. Specify the finish before choosing abrasives
| Target | Visual character | Production control |
|---|---|---|
| Starting mill finish | 2B, BA/2R or another supplied surface | Record the purchased finish and surface condition before rework. |
| Directional/brushed | Visible, aligned grain | Lock grain direction, abrasive system, passes and reference sample. |
| Satin | Soft, lower-reflectivity texture | Control uniformity over the whole visible area. |
| Bright polished | Higher reflectivity with progressively refined scratches | Remove earlier scratch families before moving to the next step. |
| Mirror-type finish | Very high reflectivity with minimal visible grit lines | Use fine abrasive stages followed by suitable buffing. |
| Local repair/blend | Repair integrated with surrounding grain | Match direction and appearance over a wide enough blending area. |
Scroll within the table to see all columns →
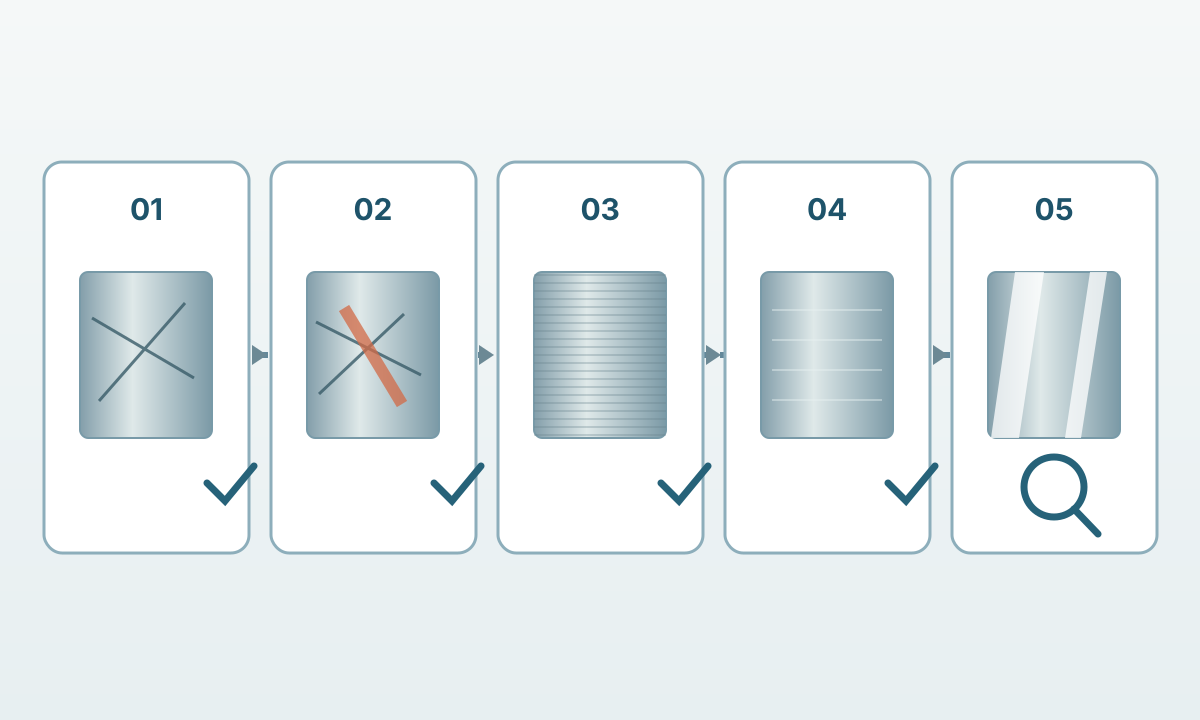
2. Start with the closest suitable surface
Use the supplied surface that is closest to the required result. A clean 2B or bright-annealed surface needs less stock removal than a heavily damaged sheet. Deep scratches, weld dressing or local fabrication damage may require a coarser first step, but intact areas should not be ground aggressively without a reason.
Finish names need context. worldstainless lists 2B as a general-purpose cold-rolled finish, BA/2R as bright annealed, No. 4 / 1J-2J as brushed or polished, No. 6 / 1K-2K as satin, and No. 8 / 1P-2P as bright mirror-type polishing categories. These designations help communicate intent; an approved sample is more reliable when appearance must match an existing panel.
3. Remove defects with a controlled abrasive sequence
Start coarse enough to remove the deepest defect that must disappear, then move through progressively finer stages. Before changing abrasive, confirm that the scratch pattern from the preceding step has been removed uniformly. Skipping too far can leave isolated deep lines that become obvious after the surrounding surface is refined.
Keep the work clean between stages. Abrasive fragments and swarf carried forward can create new scratches. Use consistent contact pressure, speed and overlap, especially on large visible sheets where local polishing can create bands or waviness.
A grit or mesh number alone does not guarantee the same appearance across abrasive products, machines, contact wheels or starting surfaces. Qualify the complete abrasive system when visual repeatability matters.
4. Keep grain direction and blending consistent
For a directional finish, make the final passes in one controlled direction. Keep tool travel, overlap, pressure and abrasive condition consistent across the panel. Cross-grain marks are especially visible under raking light.
When matching an existing finish, make a trial coupon from the same grade and starting surface. Compare it with the accepted panel before processing a large part. On architectural or decorative work, also define the grain orientation on the drawing so adjacent panels do not appear mismatched after installation.
5. Control heat and contamination
Use belts, discs, brushes and other contact media dedicated to stainless steel. Outokumpu advises that grinding wheels or belts should be new or previously used only on stainless. Nickel Institute guidance likewise warns against carbon-steel and ferritic Series 400 wire brushes because they can contaminate the surface with less corrosion-resistant material.
Grinding should also control temperature. Outokumpu specifically cautions against heating the surface until a yellow oxide layer develops. Use light, controlled passes and allow heat to dissipate when needed. If fabrication has already produced heat tint or embedded iron and corrosion performance is important, the cleanup route may require suitable chemical treatment in addition to mechanical finishing.
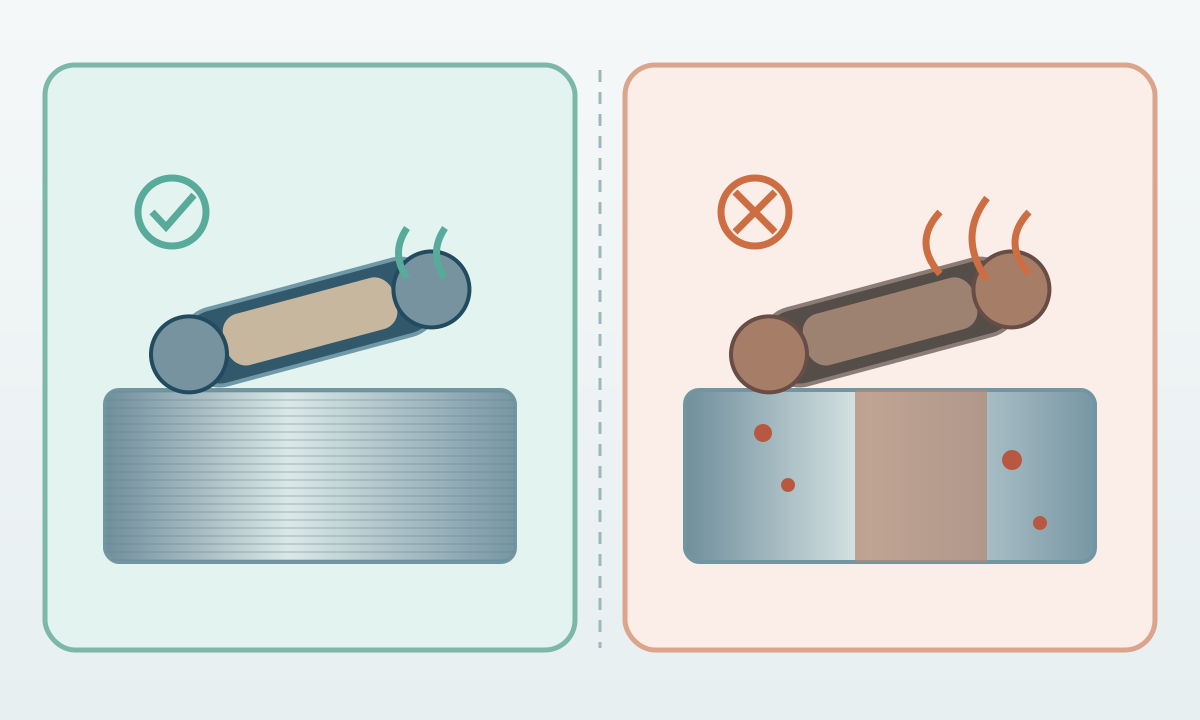
6. Build bright and mirror finishes progressively
Bright and mirror-type surfaces demand a clean foundation. Every coarse scratch that remains before the next step takes extra work to remove later. Continue through progressively finer abrasives until the surface is uniform, then use the polishing or buffing stage appropriate to the specified finish.
worldstainless describes No. 8 / 1P-2P as a highly reflective finish produced with successively finer abrasives followed by very fine buffing. That description defines a process direction, not a universal recipe for grit numbers, compounds, speed or pressure.
Flatness matters as reflectivity increases. Localized pressure can produce visible distortion even when individual scratches have been removed.
7. Inspect and specify the finished surface
Inspect the sheet in a consistent orientation and under lighting that reveals the expected defects. Check grain direction, color/brightness uniformity, residual scratches, edge transitions and local repair zones. For critical appearance, use a signed reference coupon or panel.
Surface roughness such as Ra can supplement a visual specification when it is relevant to function or procurement, but a single roughness value does not fully describe directional appearance. Combine numerical limits with finish designation, process notes and reference sample where needed.
ASTM-style No. finishes and EN finish codes are both encountered in international supply chains. Put the required designation and acceptance method on the drawing or purchase specification rather than assuming every supplier’s visual interpretation is identical.
8. Repair scratches without creating a visible patch
Identify the existing grain direction first. Feather the repair into a wide enough surrounding area and progress through the same abrasive family used for the accepted finish. A narrow, highly polished spot can be more visible than the original scratch.
Factory 2B and bright-annealed surfaces are produced by controlled mill processes, so a small mechanical repair may not reproduce their optical character exactly. Where appearance is critical, replacement or refinishing a larger area can give a more consistent result.
If the part also carries weld heat tint, embedded iron or service-critical contamination, select the cleanup method for corrosion requirements as well as appearance. For material selection, see How to Choose a Stainless Steel Grade . For post-weld work, see How to Weld Stainless Steel .